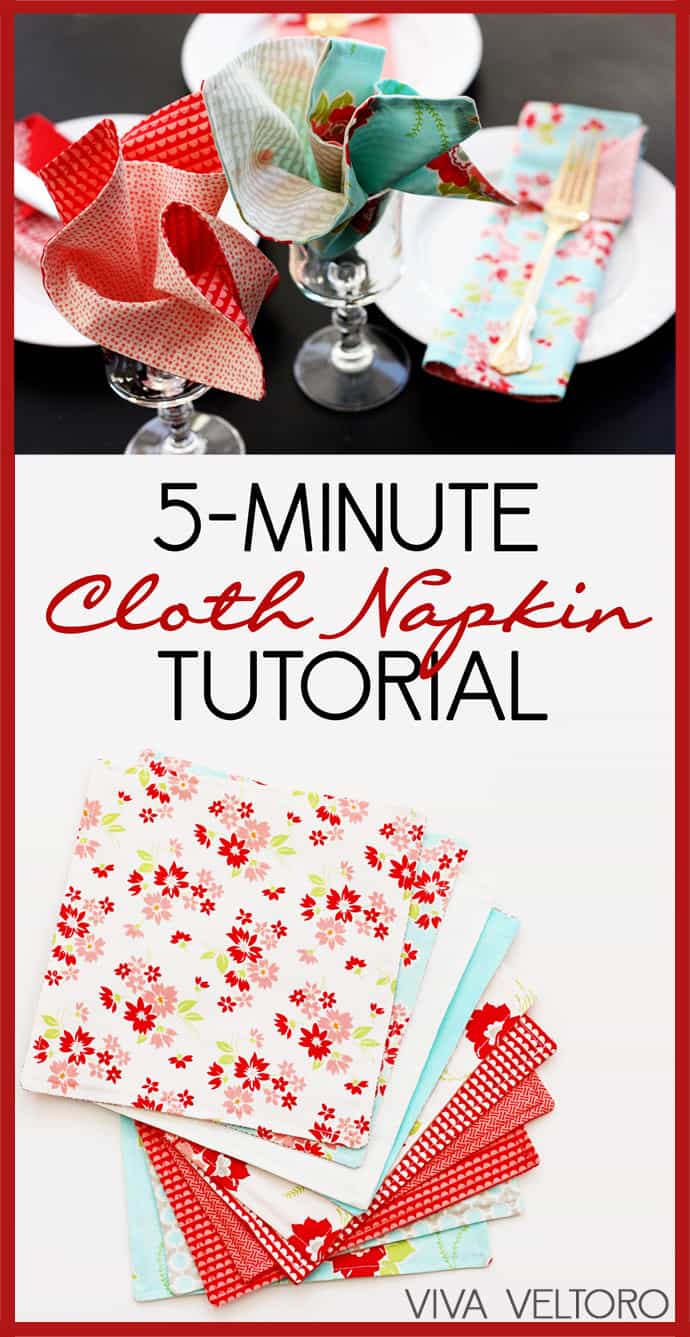
I liked the idea (check out the tutorial) but I didn't want to have purchase a ton of fabric for every day use. So I decided to make some upcycled napkins. The best part about this whole project is that my closets are getting cleaned out and junk is actually going to get used! I decided to create a short tutorial. These things are easy-peasy especially when I got my system down. This is the perfect project for sewing newbies or to use to teach your children how to sew.
DIY T-Shirt Cloth Napkins
Materials - fabric (I used equal parts old t-shirts and leftover quilting cotton but you could use just about any type of fabric that makes you happy)
Sewing machine
Thread
Sewing scissors
1. Start by cutting your fabric into a rectangle or square. Since these are more "family" napkins as opposed to "company" napkins, I didn't make them all the same size. I just cut as many as I could out of each t-shirt. They all ended up being around 8in x 12in. I think it works the best to use a rotary cutter but you could use scissors.
2. Also cut a rectangle of your quilting fabric to match the size of your t-shirt rectangle. Pin these together with the front of each fabric facing each other.
3. Sew all the way around the edges except for one 2 in opening on the side of your choosing.
4. Cut the edges and turn your fabric inside out. Then iron it so that it lays flat.
5. Top stitch around the edges of the napkins and you are done!
Seriously. That is it. I made 9 of these yesterday. Today I want to try and make some with left-over flannel instead of the t-shirt material. We all love them. I put them in an easy to reach spot so that Kira can help herself and also set them out as she sets the table.
Crunchy mama for the win!


I love this idea, Lindsey! I'm going to have to try this out next week. :D
ReplyDelete