Pages

Wednesday, December 2, 2015

DIY T-Shirt Cloth Napkins

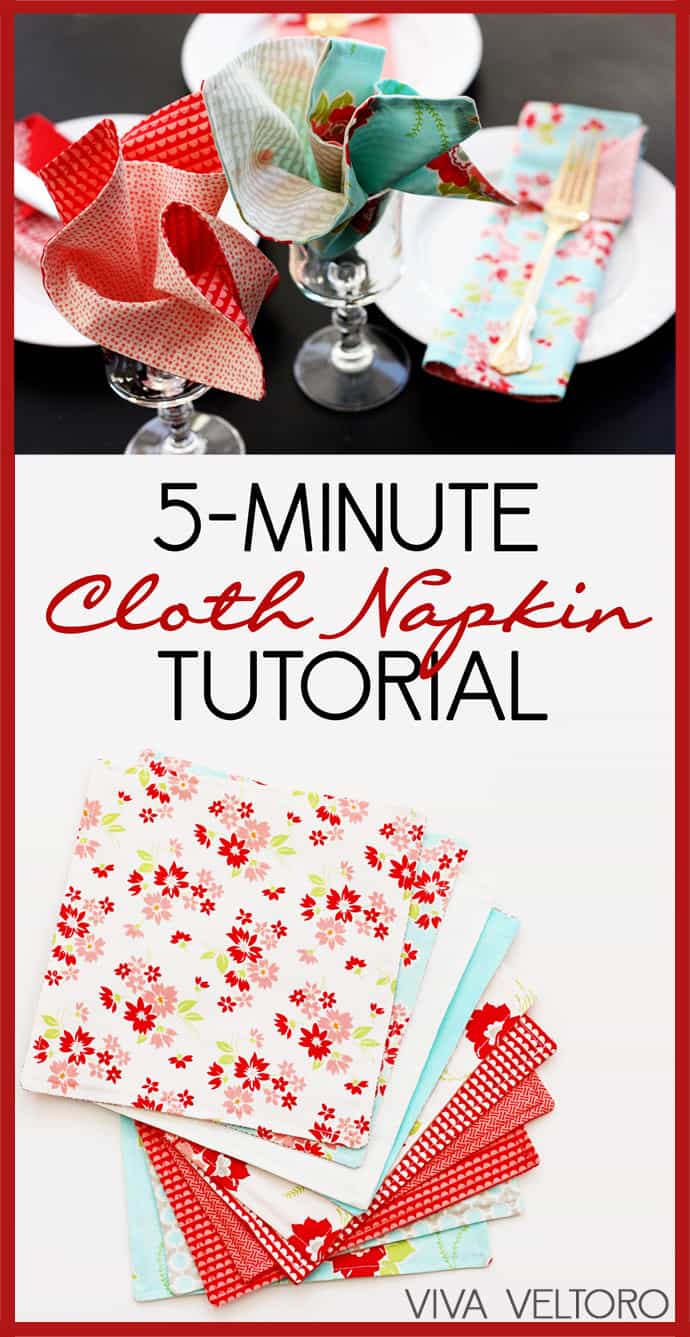
For some reason it was really bothering me that my kids were obsessed with wiping off their fingers.  One would get the washcloth and wipe off their face for 0.2 seconds and then suck all the dirty water out of the washcloth.  Ga-ross!  The other would go through about 3 paper napkins per meal and since I store them too high for my children to reach (on purpose), I would have to get up multiple times per meal to help them. About this time, I remembered that I'd been meaning to keep an eye open for cloth napkins at garage sales and thrift stores but I always forget.  I looked into buying cloth napkins but they are kinda expensive especially since I don't do laundry every day and I wanted to have enough for every meal if need be.  Finally, I decided to make some of my own.  I scoured pinterest and found these adorable ones.
I liked the idea (check out the tutorial) but I didn't want to have purchase a ton of fabric for every day use.  So I decided to make some upcycled napkins. The best part about this whole project is that my closets are getting cleaned out and junk is actually going to get used! I decided to create a short tutorial.  These things are easy-peasy especially when I got my system down.  This is the perfect project for sewing newbies or to use to teach your children how to sew.  
DIY T-Shirt Cloth Napkins
Materials - fabric (I used equal parts old t-shirts and leftover quilting cotton but you could use just about any type of fabric that makes you happy) 
Sewing machine 
Thread 
Sewing scissors

1. Start by cutting your fabric into a rectangle or square.  Since these are more "family" napkins as opposed to "company" napkins, I didn't make them all the same size.  I just cut as many as I could out of each t-shirt.  They all ended up being around 8in x 12in.  I think it works the best to use a rotary cutter but you could use scissors. 

2.  Also cut a rectangle of your quilting fabric to match the size of your t-shirt rectangle.  Pin these together with the front of each fabric facing each other.  

3. Sew all the way around the edges except for one 2 in opening on the side of your choosing. 

4.  Cut the edges and turn your fabric inside out.  Then iron it so that it lays flat. 

5. Top stitch around the edges of the napkins and you are done!  


Seriously.  That is it.  I made 9 of these yesterday. Today I want to try and make some with left-over flannel instead of the t-shirt material.  We all love them.  I put them in an easy to reach spot so that Kira can help herself and also set them out as she sets the table.  

Crunchy mama for the win!


Monday, November 30, 2015

This and That...

Our life has been kinda busy and kinda not so busy.  We do things but it doesn't always feel like we've actually accomplished anything.  Since I don't have much to say, I thought I'd just stop by and share a couple of things I've been thinking about lately and some funny things the kids have been doing/saying.  
- Nana took the kids to McDonalds to get some ice cream and Kira told me that she "loves Old McDonalds."  
- Speaking of Old Mcdonald, I found this book at the library and I loved it.  Buy it here.  In it, Old McDonald starts a urban homestead much to the chagrin of his neighbors.   
- Speaking of urban homesteads, my current dream is to buy an old fixer-upper farmhouse that is only kind of in the country and create a hobby farm complete with a garden, honey bees, egg laying chickens, and some kind of meat source.  First step, convince Aaron.  Second step, actually find a house since there are never any such houses for sale in our price range on the side of town we need to live on. Though in all honesty, we're planning on staying in our current house for at least another 1 1/2 years as it would be financially beneficial for us.   
- Did I mention that my almost 17 month old son can say several sentences and phrases?  Starting at 12 months, he would say, "I go ou-side." Now he can say all sorts of things including, "Wha dat?," "I want some!!!" "I'm done!!!" "Mom-mom, I boop (poop)" and he responds to affirmatively to question by using "Uh-huh" or "sure" which he says in the sweetest little high-pitched voice.  I don't think Kira started talking in sentences until around 20+ months.  What a little smartie-pants.  
- Kira is so excited about Christmas this year.  She loves everything from Christmas lights, to the fact that Christmas is baby Jesus' birthday, to any and every Christmas decoration.  The other day I was listening to the holiday pandora station and after each song came on she would shout at me, "Mom!  It is a Christmas song!" 
- Kira is also super in bedtime stories. She used to complain about going to bed and about having to wear a mitten at bedtime to keep her from sucking her fingers.  Now all we have to do is promise her a story and she hops right into bed without a single complaint.  Of course she does start to complain at the end of every story, "But that isn't the end."  So far we've just stuck to Bible stories and a couple fairy tales.  We'll probably run out of those in another few weeks and we'll be forced to venture into the realm of made-up stories.  
- PSA: Homemade salted caramel is where it is all at.  Just saying.  Just mix together some sugar, heavy whipping cream, butter, salt and voila!  This year one of my Thanksgiving contributions was a pumpkin cheesecake with a salted caramel topping.  I may or may not have eat most of it by myself.  Check out the recipe.


Wednesday, October 28, 2015

An Inexpensive Bathroom Remodel


So we've been working on remodeling our bathroom since..ahem...this past January.  Lets just say that we keep getting distracted and lazy.  When we moved into our house, everything was a mess.  It was a foreclosure that had sat vacate for 2+ years.  We took replaced all the flooring in the main part of the house, painted just about every single, piece of trim, ceiling and cabinet, got a new HVAC and water heater, and took out a wall.  There were a few projects that we put on hold though.  We just got our dishwasher 1 year ago, replaced the roof by ourselves last fall, and this past summer we did our deck.  Another project that we wanted to take on was the bathroom but since it all worked and didn't look absolutely awful, we just left it alone.  Just to refresh your memory, here is a picture of when we first bought the house. 
So there were a couple of things that we changed double quick.  We cleaned out all the moldy caulk around the tub and put in new caulk, replaced the toilet since it leaked and also added a fan/light combo since the old fan didn't work.  Other than that, we lived with it "as is." for 2 1/2 years. 
I was so excited to finally be able to get it done this past year!  Here are some before and afters.  It doesn't belong in any design magazines but our goal was to get it looking as nice as we could and spend as little money as we could.  I think it ended up costing us around $300 but since the cost has been spread out over 9 months it is hard for me to know exactly without consulting Aaron and the budget. 
BEFORE
AFTER!
         
So what was up with this funky light? Did someone really pick out this light and then hang it from the ceiling and think that it actually looked nice?  The mirror was really worn looking and way outdated.  The "new" mirror is actually something I picked up at a garage sale for $5-10 before we were ever married.  I was never quite sure where to hang it but it fit perfectly in the bathroom. All I did was paint it the same color as the vanity.

We we got rid of the mirror, we also lost some storage space.  We tried to make up for that by adding this shelving.  I love my new ikat pattern that I painted.  I'm thinking of making another design and hanging them in matching frames above the towel rack but for now this works.  See that glass jar?  That did hold q-tips until they all got knocked over.  Just keeping these pictures real.  I do plan on replacing them next time I go to the store.  


So the spot above the towel rack is still empty.  I'm trying to decide what exactly I want to do. I'm thinking of hanging my ikat patterns as I previously mentioned.  I do love the color we chose.  It was a tan/beige color and is now a nice light bluish gray. It coordinates very well with the main part of our house.  


We also painted the vanity gray and replaced the flooring.  We tore out the old linoleum and put down new vinyl stick-and-peel tiles with real grout in between them.  We thought about doing real tile but we only have one bathroom and didn't want to have to move out of our house for days.  It was super cheap but still looks decent.  It almost looks like real tile.  

I wish I could better capture the transformation.  My camera just isn't that great, there is absolutely no natural light in the bathroom and it is tiny.  But we like it so I guess that is all that matters.   

Thursday, October 22, 2015

Life + Christmas List

I'm pretty sure that I'm married to the only man who asks his wife to read a chapter from a Tim Keller book before they go on a date so that they have something meaningful to discuss.  Yep.  In his defense, it was a good chapter.  Lately, we've been thinking a lot about mercy ministry and how to spend our money.  Definitely some challenging stuff in this chapter as well as in Scripture.
This guy is crazy.  He calls his cars "broom, brooms" and can speak several full sentences.  The funny thing is that all the sentences start with "I want..." If we tell he that we need to go somewhere, he runs around the house and brings everybody a pair of shoes.  While he does manage to match the right shoes to the right person, he doesn't discern much between types of shoes and is likely to bring you a pair of heels for a hiking excursion.  

Ok, so now the part that you all have been waiting for with baited breath: My Christmas list.  You only have about 2 months so it is time to start shopping! Here is what I have on the list for now though I'm sure it is likely to change.  
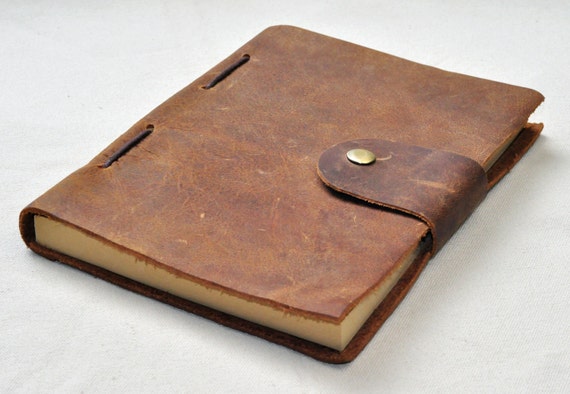
  • A beautiful journal.  I have one picked out but something like this would be nice.  
    Buy it here
    I've been slowly but surely journaling for the first time in my whole life.  I'm proud to say that I've been fairly consistent since February of this year.  Right now my motivation to write a lot is simply that I want to fill up my old journal so that I can start on a new prettier one.  I don't write much deep stuff.  I mainly stick to boring facts about my life.  I just want something to help me remember what life was like, how I spent my time, prayer requests that were answered, and cute things that my kids do.
  • Cutesy bowls and serving dishes with patterns on them.  Every. Single. Time. I go into TJ Maxx I have to wear a blindfold for the dishes section.  I'm totally loving everything with a blue and white design or even just a cute and colorful pattern.  Here are some dishes to give you an idea.  
    How about these?
    From Target
  • I also accept gifts of food items such as nice cheese, dark chocolate, and good coffee. 
  • Anything to do with gardening!  Even simple things like a nice quality hand trowel or some gardening gloves.  


Monday, October 19, 2015

Baked Carrot Cake Oatmeal (aka The Best Autumn Breakfast)

This recipe is so super yummy.  It is so hearty, filling and rich but not overly sweet.  In fact, don't be fooled by the "cake" part of the title.  In a normal recipe for baked oatmeal, most people would put in in 1 C of sugar.  I cut this way back to only 1/4 C.  If you like sweet foods or are making this for a special occasion, feel free to double or triple the sugar or squeeze some honey or maple sugar over top of your bowl.  We enjoy even without all the sugar so we'll keep doing it that way.  I also make it up the night before and then pop it in the oven in the morning for a quicker and easier breakfast.


Baked Carrot Cake Oatmeal (Gluten free with a dairy free option)
1 large carrot, shredded
3 c Oats
2 t Baking powder
1 t Salt
2 t Cinnamon
1/4 c Brown sugar
1/3  c raisins
1/4 c shredded coconut
1/3 c chopped walnuts (optional)
1/2 c oil/butter - butter or coconut oil is the best but I think just about any "oil" would work
2 eggs 
1 c milk
1 t vanilla
1 apple (granny smith is the best that I've tried)

In a 9x13 in pan, mix together the first 9 dry ingredients.  In large measuring cup, mix together the wet ingredients.  Add the wet to the dry and mix a little more.  At this point, I put it in the fridge overnight.  The next morning, preheat the oven to 350 and add a chopped apple to the oatmeal.  I also like to add an extra 1/4 c of milk or so since the oats will have soaked up the mixture while in the refrigerator.  Stir in the apples and bake for 30 min.  Enjoy a huge bowl and top with milk, half & half, cream, or whipped cream.  

If you are dairy free, just use a milk alternative such as almond milk in place of the regular milk and coconut oil instead of butter.  

Our whole family will gladly eat a giant bowl of this for breakfast.  However, I personally recommend that you feed your children cereal so that you can eat their portions.  


Have you ever wondered what we look like to small children.  Here is us and our house from Kira's perspective.  It kind of cracks me up.  


Saturday, October 10, 2015

The Easiest Pumpkin Painting Ever!

So first off, I created the world's best healthy fall-time breakfast ever: Baked carrot cake oatmeal.  Seriously, so incredibly good. Of course, I'm a sucker for carrot cake so it doesn't take much to convince me.  I used a recipe as a base but I made so many changes and additions that I need to make it again and actually measure out things so that I can share my yummy breakfast with the world . Kira, Aaron and I all absolutely loved it.  Will wasn't too convinced but I think it was a texture thing.
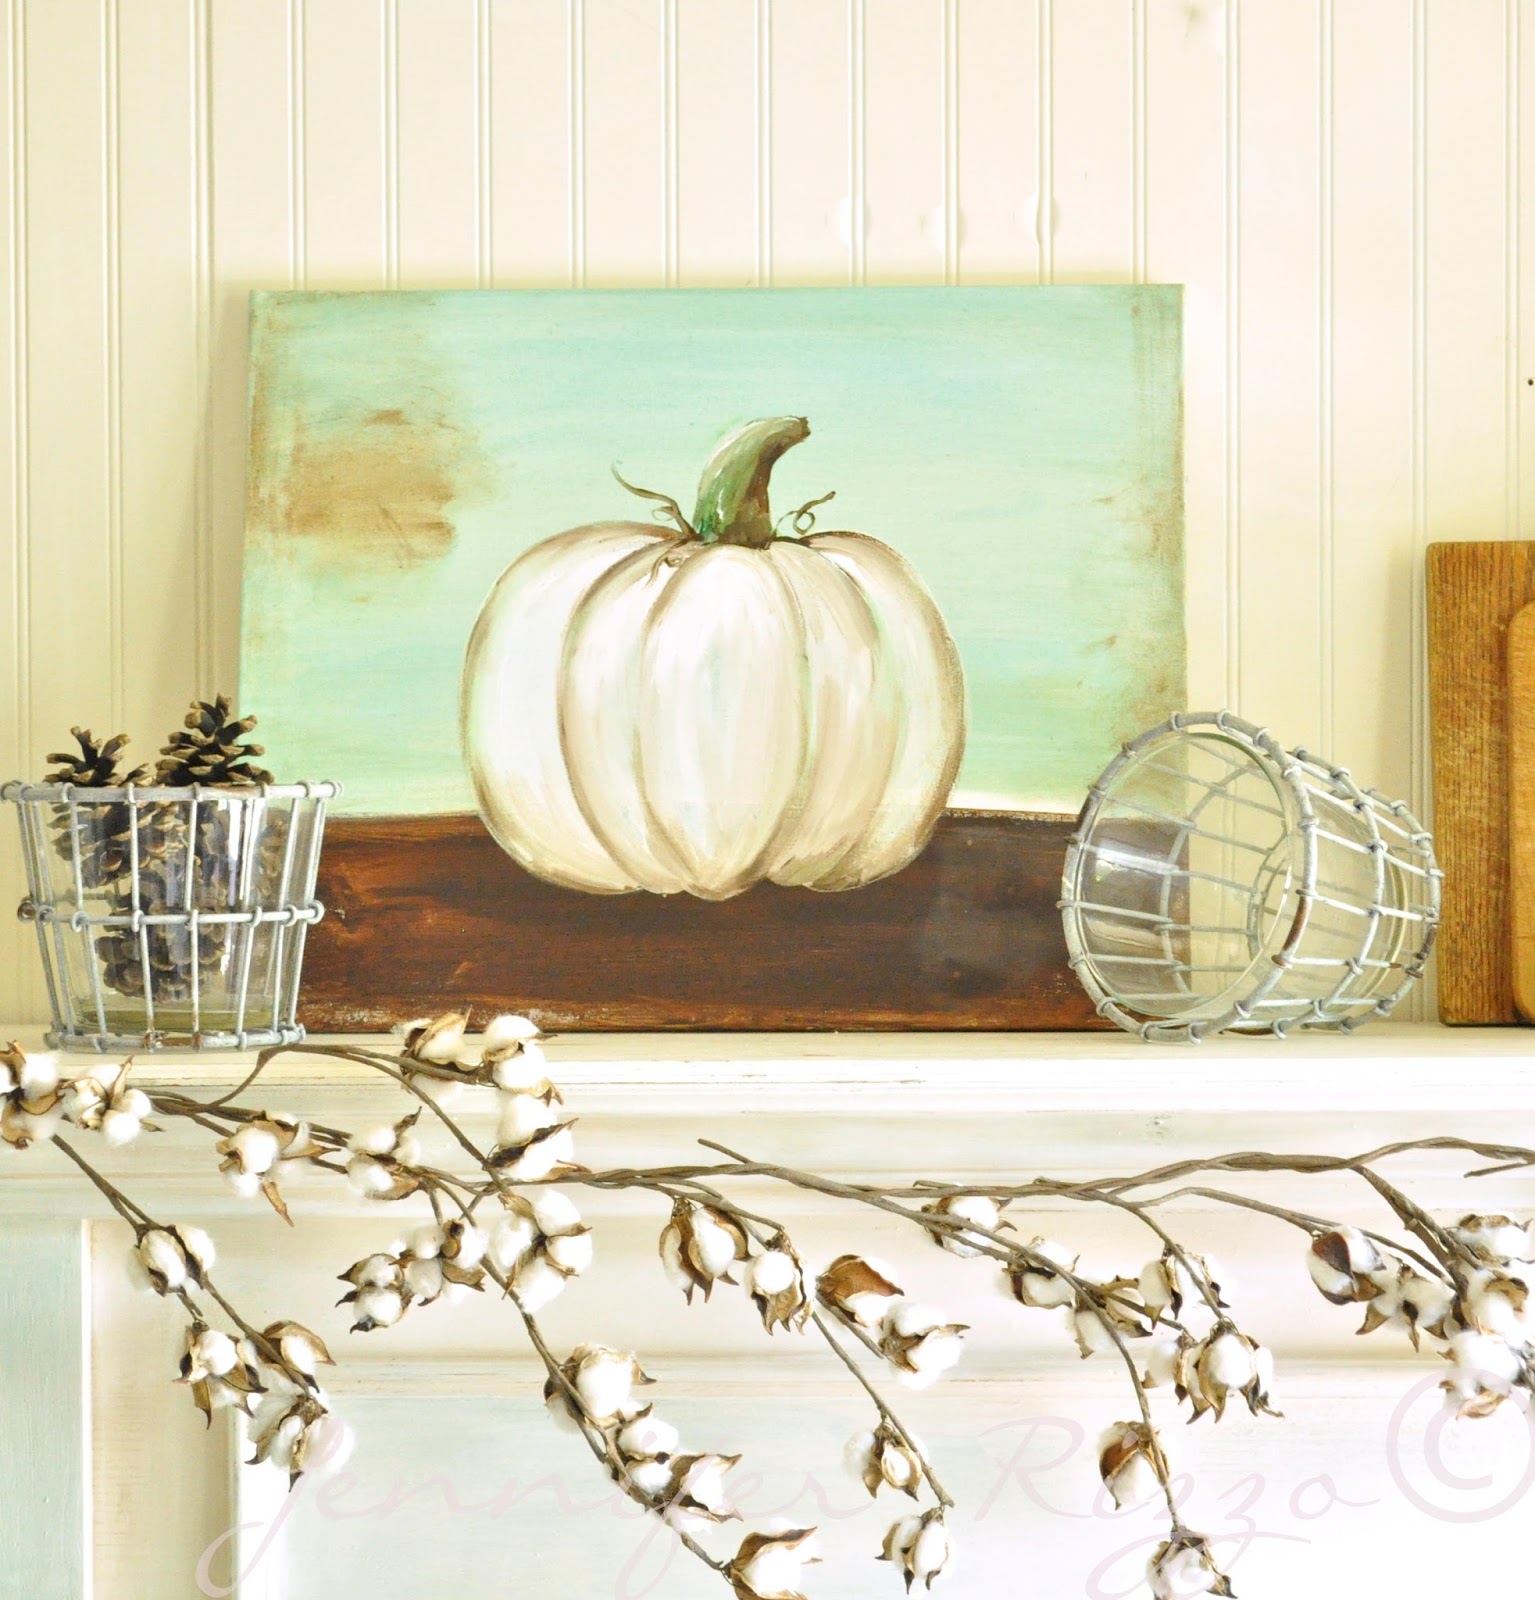
Ok, so now on to the pumpkin.  As you've probably guessed by now, I love doing crafts.  However, I have a serious problem: I think I can paint but I can't.  I can see a picture in my mind but I never manage to actually transfer that image to paper or canvas.  I can't draw either.  If you think I'm joking, I'm not.  I'm pretty sure that my 9 year-old sister can draw better than I can.  I was scouring pinterest for an Autumn project to make as a craft for a friend and I ran across this.
Beautiful, right?  I was convinced that I could in fact paint this...but then I remembered all my past failures.  Since she had this handy tutorial and I was desperate for a fall craft, I decided to give it a go.  I already had a lot of the paints so I only needed about $5 worth of supplies.  I thought that risk would be worth the pleasure and the potential benefit. 
Here is my version. 

Not quite perfect but still a ton of fun.  Give it a try!  Painting is so relaxing especially when you have someone walking you through each and every step.  Hmmm...looking at these pictures side by side have convinced me of a few additions I should make to mine.  Excuse me while I go work on it some more.


Monday, October 5, 2015

My Little Flower Girl

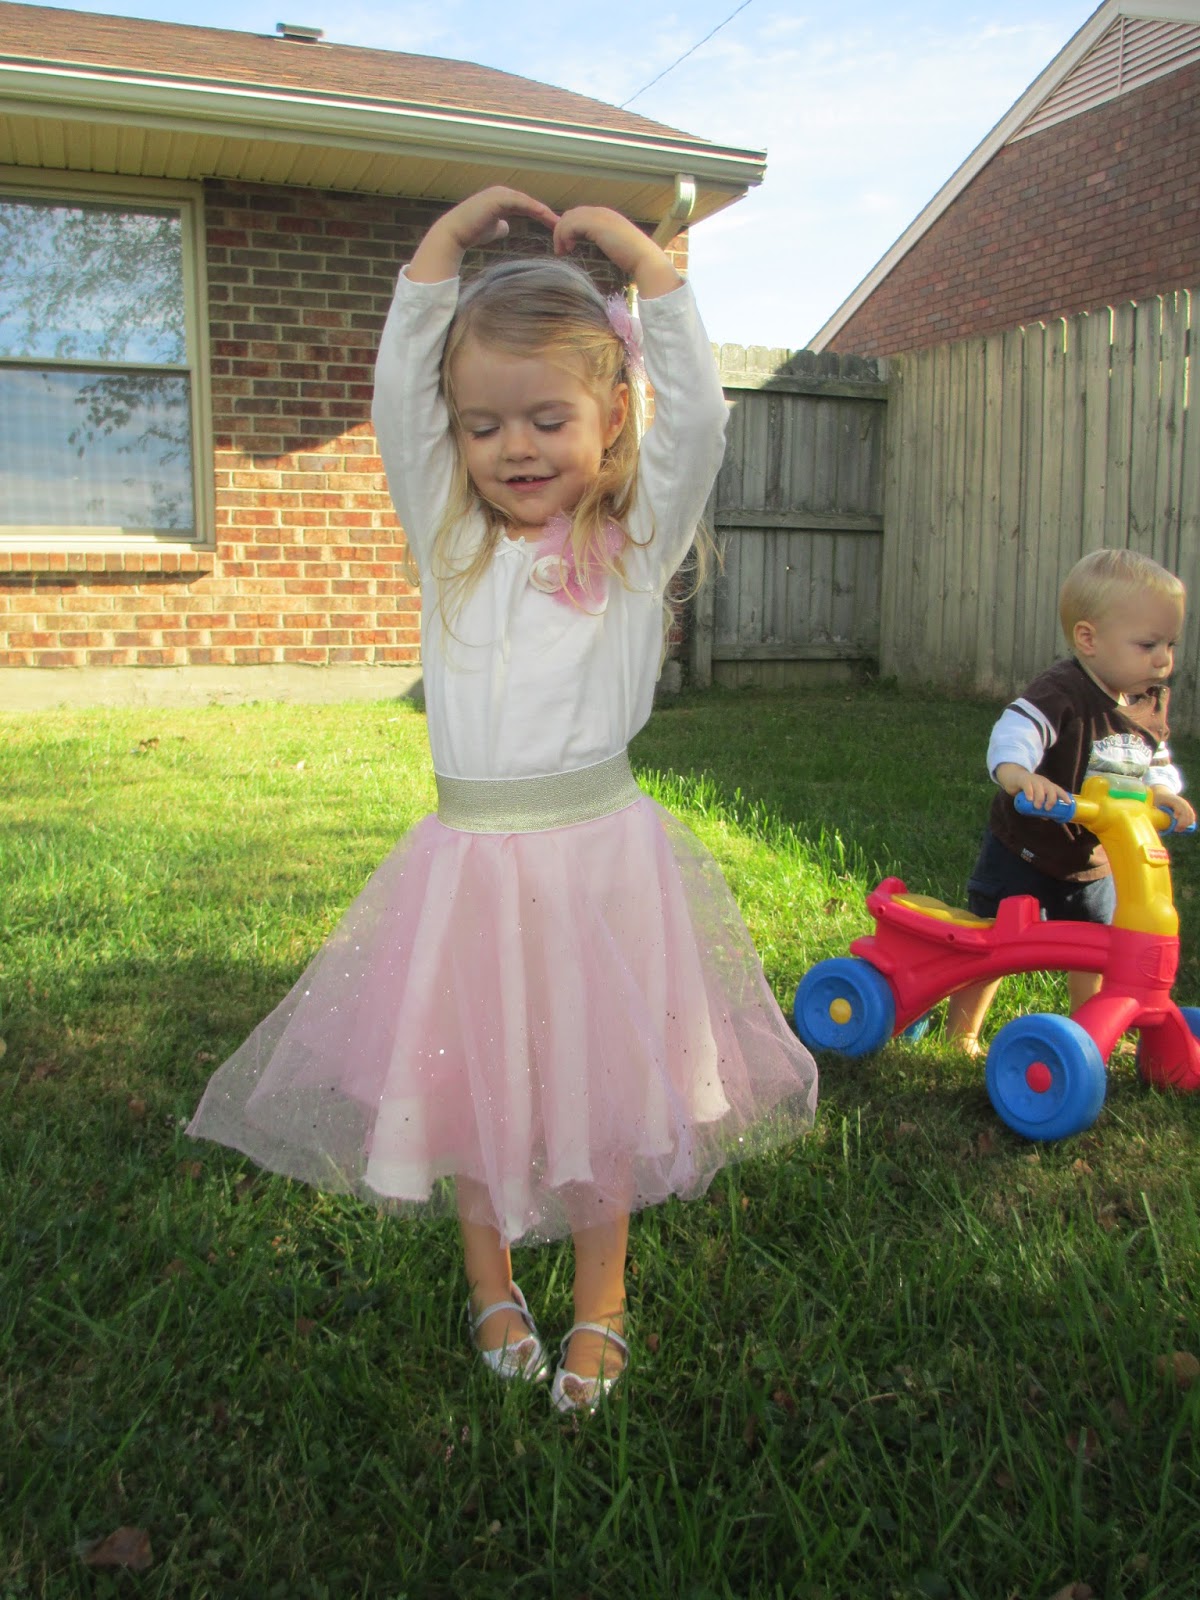
This past Saturday, my sister got married.  It is hard to believe that I'm old enough for my sister, who is 7 years younger than me, to be getting married. Though she is get married quite young so at least I have that to comfort me.  Kira and two of my nieces were flower girls.  I had the pleasure of designing their outfits.  I finished up their skirts all the way back in August but I've been trying to keep them a secret for the big day.  Kira loves her clothes so much that she begged me to put them back on her today.  Fortunately, this worked out well for me as I failed to get any good pictures of her on the wedding day.
Here is the matching hair bow that I also made for all the girls.


Can you tell that she's really into ballerinas right now?
I used this skirt tutorial and it was super easy. All the girls did great.  Nobody cried or had a meltdown.  Petals actually got placed on the ground and they even smiled a couple of times.  The only funny thing was that my niece Eva went down the aisle backwards so that she could watch each petal fall to the ground and at the end she tried to pick them up because we always did that when we practiced.